

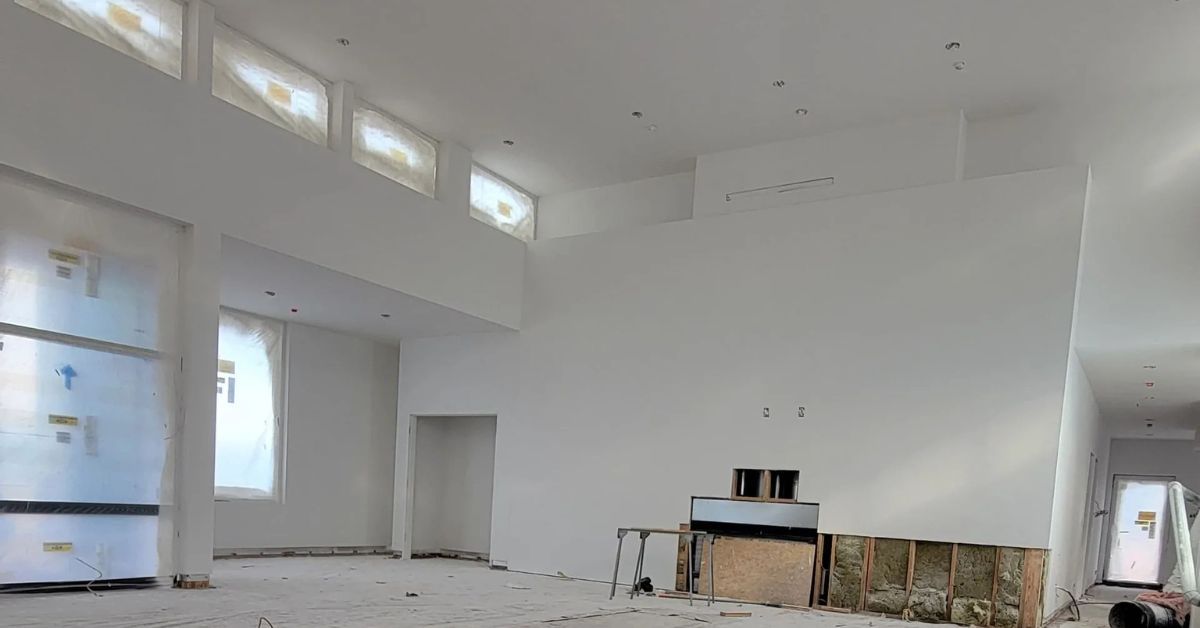
Learn what commercial businesses should expect from drywall contractors during planning and installation work in active facilities or new spaces.

Drywall repair is a complex process that requires a steady hand and thorough preparation. Find out which mistakes you should avoid when patching drywall damage.
Whether it's a small or extensive task, installing drywall is difficult without a plan. Use these tips to coordinate drywall work for any project.
Drywall isn't the first thing homeowners think about during a remodel, but it's an essential component. Learn why quality drywall matters in home renovations.
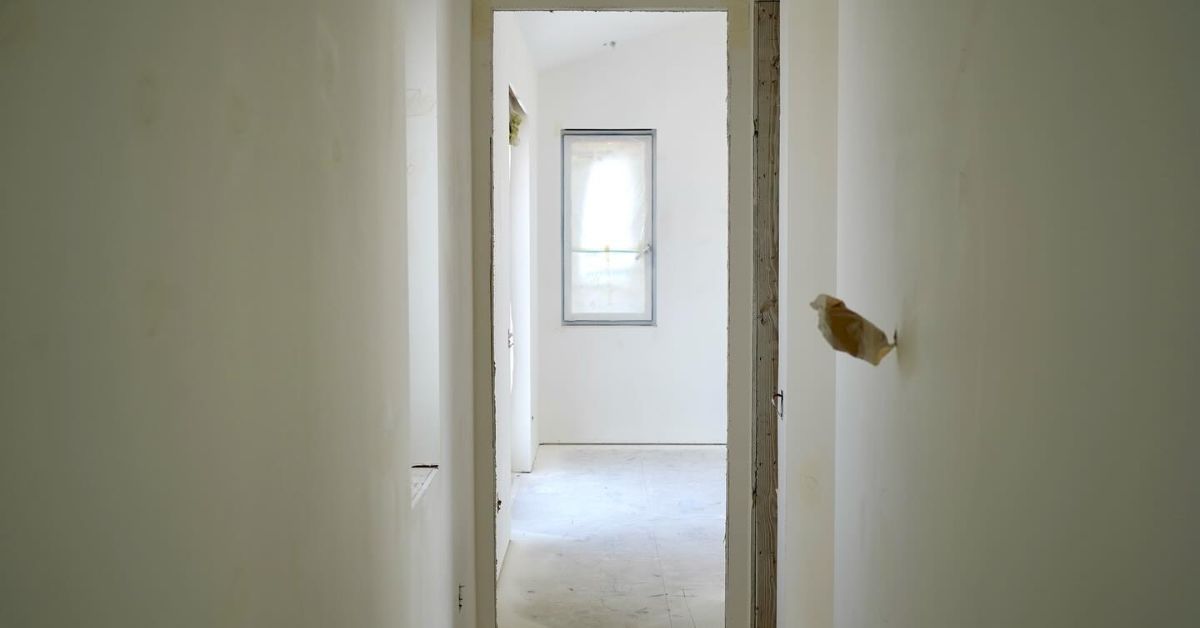
Tenants deserve to live in a property that repairs drywall issues promptly. Follow the dos and don'ts of tenant improvement drywall jobs for the best result.
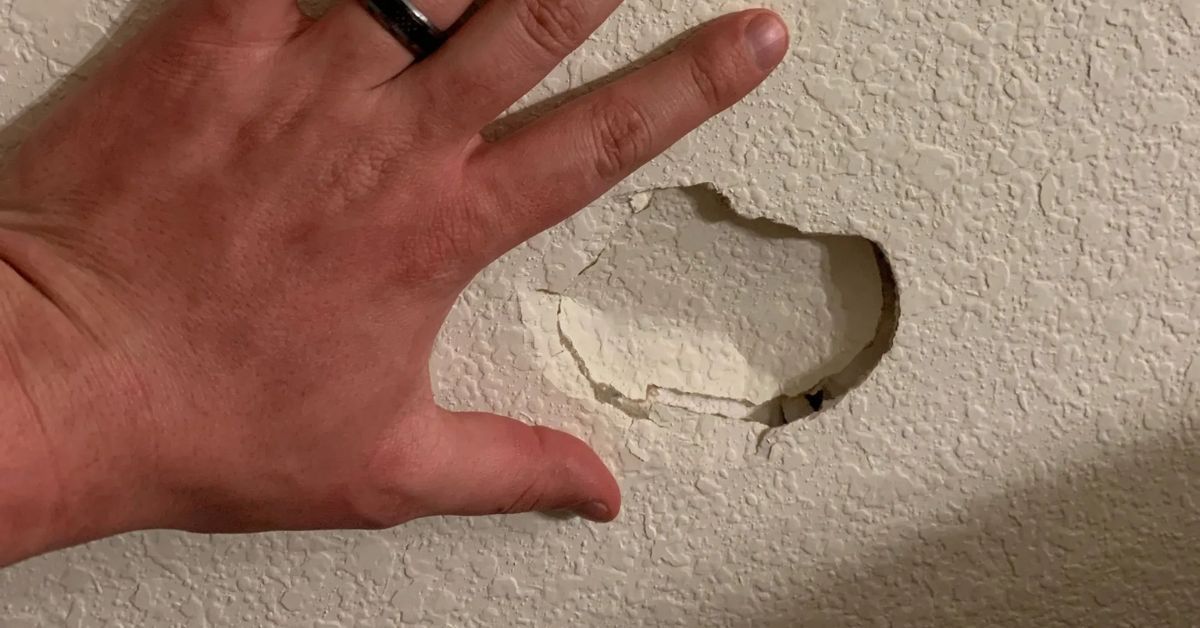
Fixing damaged drywall may seem simple to DIY on the surface. However, DIY drywall repairs often cost more long term because of the intricate process.
There are several qualities that make up a great contractor. From amazing communication skills to quality installation, learn how to find the best professional.
Installing and repairing drywall is a complex skill. With so many elements to consider, learn how to avoid the most common challenges in drywall projects.
Drywall repair and installation are tougher projects than many homeowners realize. Discover the most common misconceptions about residential drywall work.
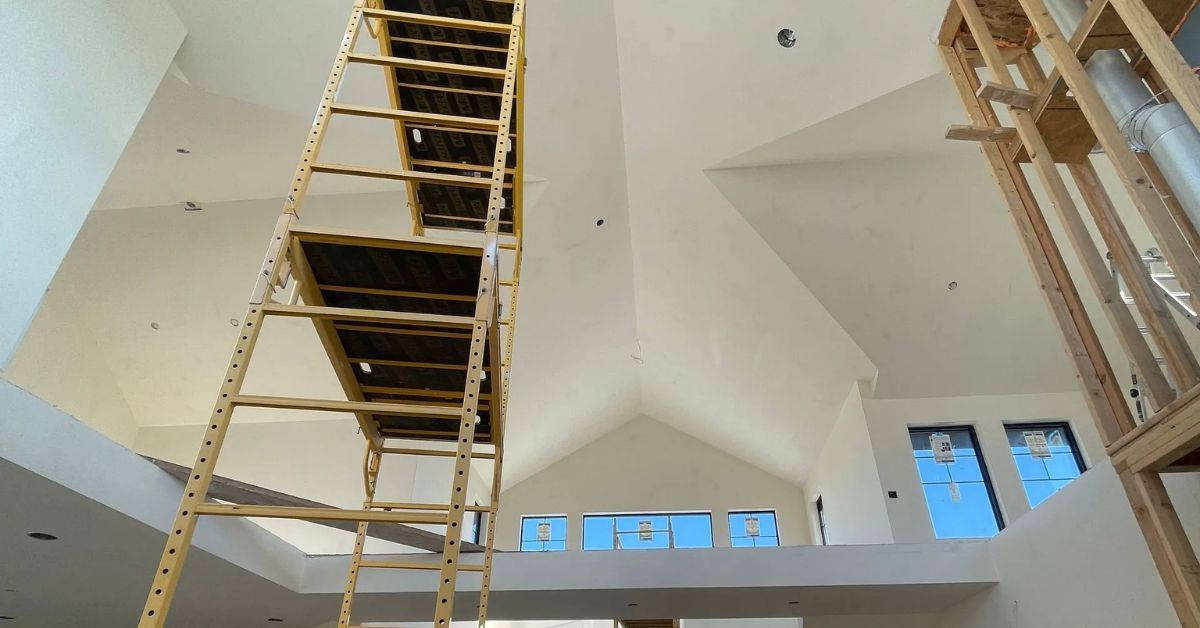
Learn practical tips for managing large-scale drywall installations, including scheduling, crew coordination, quality control checklists, and more.
